Showing posts with label side dishes. Show all posts

Saturday, April 16, 2016

Spinach Sauteed with Garlic, Dried Figs, and Honey


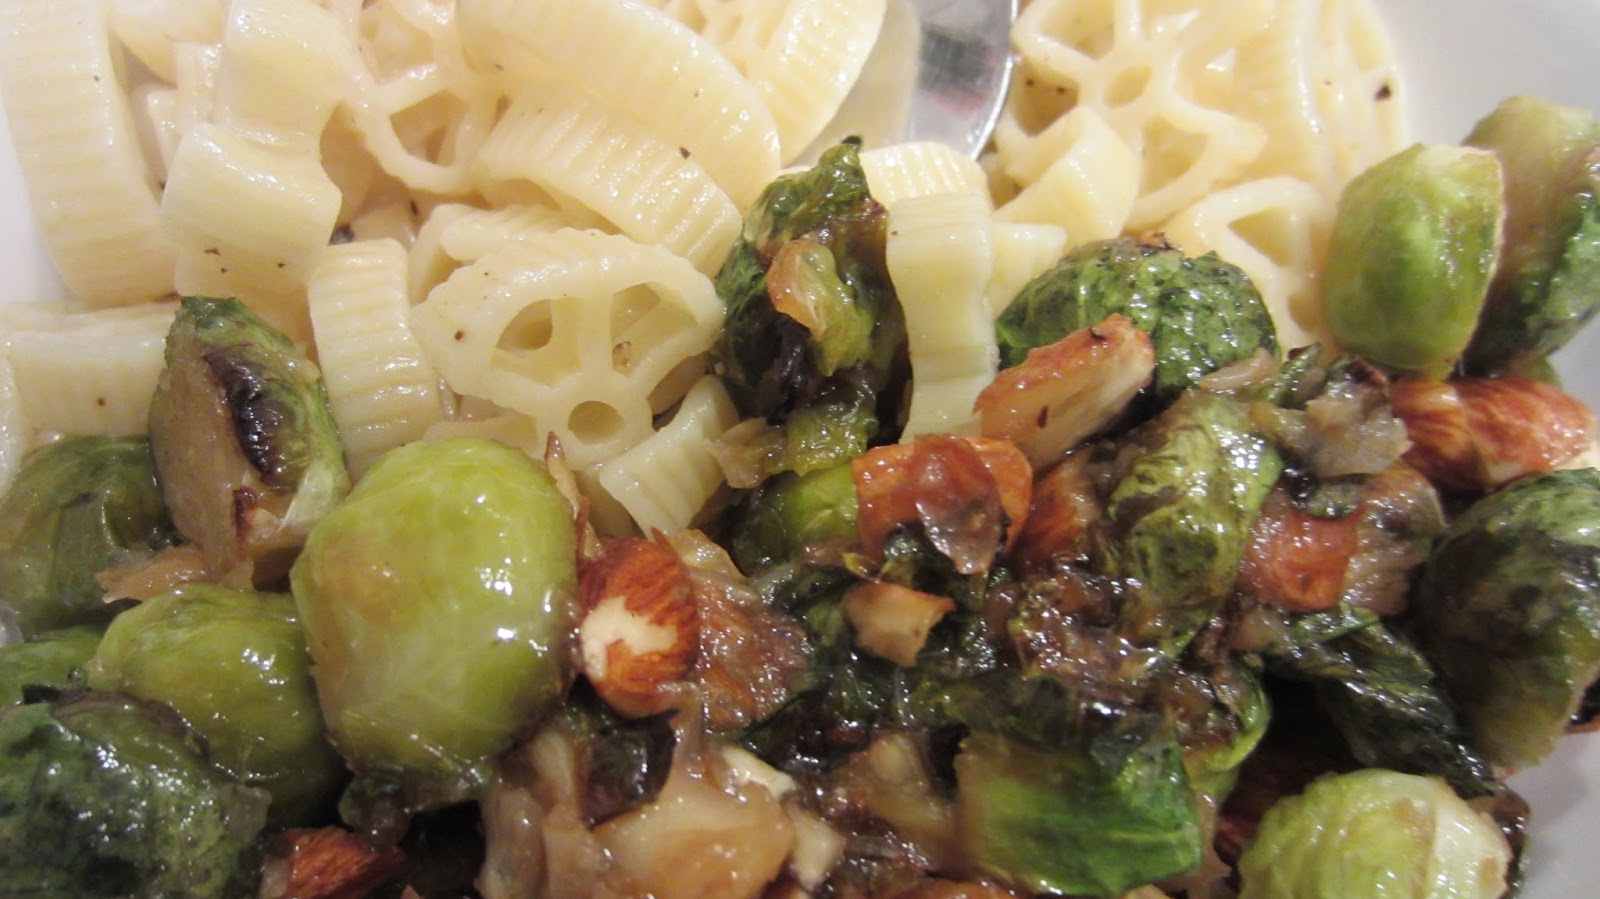
Here's a delicious side dish recipe for sauteed spinach, straight from Emril Lagasse and the Food Network website. Bam! I didn't do much fiddling with it, other than to add a sprinkling of hot pepper flakes to give it a little heat and a handful of chopped almonds for some crunch.  It is both sweet and savory. Besides being delicious, it's also fast and nutritious.  Makes a nice side dish.  This recipe serves four as a side dish, maybe two if this is the main dinner feature.

Spinach Sauteed with Garlic, Dried Figs, and Honey
2-3 cloves of garlic, thinly sliced
2 tablespoons olive oil
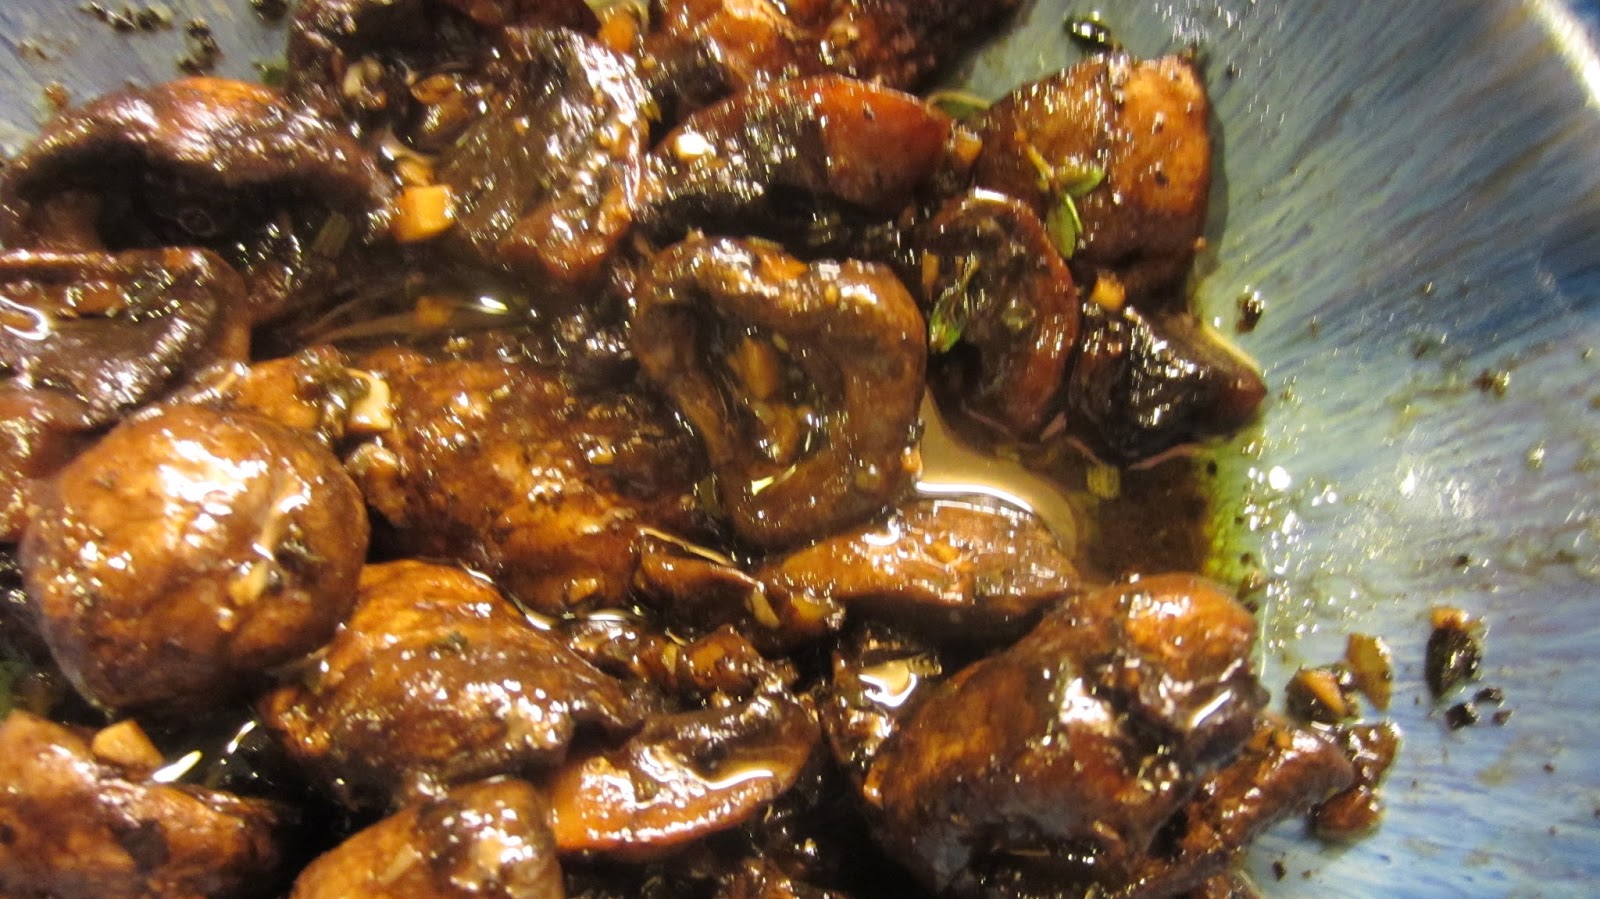
1/4 cup finely sliced dried figs
1/4 cup vegetable broth
1 pound baby spinach (or grown up spinach, chopped)
1/2 teaspoon salt
1/4 teaspoon ground black pepper
pinch of red pepper flakes
2 teaspoons honey
1/4 cup almonds, toasted and chopped

Add the olive oil and garlic to a large saute pan (one that can hold the pound of spinach). Place on medium heat, stirring as the pan starts to heat up and the garlic begins to cook.  Cook for about 2-3 minutes, stirring often and taking care that the garlic doesn't burn.  Add the figs and the broth and continue to cook, stirring, until the broth reduces considerably.  This will soften the figs and create a sweet, thickened broth.  Add the spinach, salt, black pepper, and hot pepper flakes and cook, tossing the spinach to wilt it. You may have to add spinach in batches as it wilts so that there's room in the pan.  Continue cooking until all of the spinach is wilted.  Remove from heat, taste seasonings and add more salt, pepper or hot pepper flakes if desired. Place in a serving bowl and drizzle with honey.  Just before serving, sprinkle the chopped almonds on top. 

Saturday, March 26, 2016

Avocado and Citrus Salad

Late winter is a great time for citrus fruits.  Though California avocados aren't in season, because of the Mexican avocado crops, it's usually pretty easy to find good avocados.  The orange and red grapefruit in this salad provide just enough acidity to keep the avocado from turning brown too quickly, but this is still a salad that you want to eat as soon as you make it.  It's be great on its own, but was nice on a bed of baby spinach.  This made enough for two generous dinner servings.  If this is part of a larger meal, it would serve four and is easily doubled.  It'd make a refreshing salad for Easter!

Avocado and Citrus Salad
1 navel orange "supremed" (see directions below)
1 red grapefruit, also supremed
juice from supreming the fruit
1 tablespoon honey
1-2 tablespoons extra virgin olive oil
salt and pepper to taste
1 thin slice of red onion, chopped
1 avocado
2 cups baby spinach, washed and dried

Supreming citrus fruit:  Slice the ends off of the fruit and stand it on one cut end.  Slice the skin off the fruit, taking care to cut all of the bitter pith off but leave as much of the fruit as you can.  Hold the peeled fruit in one hand and, over a small bowl or measuring to catch the juices, slice on either side of each segment to free the fruit.  Place the segments on a cutting board.  When all of the segments have been removed, squeeze the remaining membranes over the small bowl to extract as much juice as you can for the dressing.  Cut the segments into about 1-inch pieces and place in a salad bowl.   Stir the honey into the juice, blending well.  With a whisk, slowly add the olive oil to emulsify. Whisk in a pinch of salt and pepper and set aside.  Cut the avocado in half length-wise and open. Remove the pitt and peel each side.  Cut into about 1-inch chunks. Add the avocado and diced onion to the citrus fruit and toss. Pour the dressing on top and toss again.  Taste and add salt and pepper if needed and/or some more olive oil.  Place one cup of spinach on a salad plate or bowl and top with half of the fruit/avocado.  Enjoy!

Saturday, January 30, 2016

Honey- & Garlic-Roasted Brussels Sprouts with Almonds--and Homage to Grandma D.


One night, dinner on my own, I roasted these Brussels sprouts and paired them some simple buttered wagon wheel macaroni ("rotelle"), my ultimate (and original) comfort food.  Buttered wagon wheels were the first dish I learned to cook, standing next to my grandmother at her stove. Grandma always had a box of wagon wheels on her shelf when we visited and my pantry is rarely without them now. She'd let me stir the noodles, help me drain them, and then let me stir in the butter to melt, all by myself. On a cold night when I'm on my own for dinner, buttered wagon wheels feel like a hug from her. I usually have some kind of vegetable with them (Grandma valued a colorful plate). These roasted Brussels sprouts are slightly sweet and nutty.  They're colorful and very, very good.  I thought I'd have leftovers, but ate them all--all by myself!

Honey- & Garlic-Roasted Brussels Sprouts with Almonds
1 lb Brussels sprouts, cleaned trimmed and cut in half
4 cloves garlic, unpeeled 
4-5 tablespoons olive oil, divided
pinch of salt
1/2 cup chopped almonds
2 tablespoons honey
2 tablespoons citrus juice (lemon, lime, orange--I used grapefruit)
pinch of hot red pepper flakes (optional)
pinches of salt and pepper
Preheat oven to 400 degrees.  Line a rimmed cookie sheet with aluminum foil.  In a bowl, toss the Brussels sprouts and garlic cloves with 2 (or so) tablespoons of olive oil until they're well coated.  (Don't clean the bowl after this--you'll need it later!) Spread the sprouts and garlic onto the cookie sheet.  Nice if you turn them all cut side down.  Sprinkle with salt.  Roast for about 10 minutes.  Check sprouts and garlic, tossing avoid over-browning and roast for 5-10 minutes more.  The garlic should be very soft and easily squeeze out of the skin.  

While sprouts and garlic are roasting, whisk together honey, citrus juice, and two tablespoons of olive oil.  Add the hot red pepper (if using) and salt & pepper.  Add the roasted garlic to the sauce, mushing with a fork. Place the roasted sprouts back in the bowl, add the almonds and pour the sauce over it, tossing well.  Spread the sprouts and almonds back on to the cookie sheet and roast for another 5-10 minutes.  Check seasoning and serve. This dish makes enough for 2 generous servings
Wagon Wheels-n-Butter 
Bring a pot of water to boil over high heat.  Add a goodly amount of salt and the wagon wheels--about 1/2 cup per person.  Stir and return to a boil.  Boil briskly until the noodles are done to your liking--usually 6-9 minutes.  Drain, return to the pan, and immediately add a pat (about a tablespoon) of butter and stir to melt.  Sprinkle with salt and pepper, if you like.  I like pepper now--would have pitched a "Jennie fit" if Grandma had put it on my wheels when I was little! :) 

Saturday, January 16, 2016

Honey and Balsamic Glazed Mushrooms


I had some mushrooms that were on their way south and went looking for a recipe that would use them all up.  This honey and balsamic glazed mushroom recipe did the trick, which I developed after perusing some recipes on-line.  They'd make a nice appetizer or a side dish with beef.  I made a meal out of them with a grilled cheese, onion, and spinach sandwich. Ate the whole bowl myself!  I will say that they're not very pretty, but they are very good in a sweet-n-salty way.  If you use them as an appetizer, I'd keep all of them whole and serve with toothpicks.

Honey and Balsamic Glazed Mushrooms
  • 1 12-oz package of fresh button or cremini mushrooms.
  • 6 tablespoons olive oil, divided
  • 1 clove garlic, minced
  • 3 tablespoons balsamic vinegar
  • 2 tablespoons honey
  • 1/2 teaspoon minced fresh rosemary (plus a bit more for garnish)
  • 1/2 teaspoon minced fresh thyme (plus a bit more for garnish)
  • 1/2 teaspoon freshly ground black pepper
  • 1/2 teaspoon kosher salt
Remove the stems from the mushrooms (save them in the freezer to make vegetable broth!). If serving as a side dish, quarter large mushrooms, half medium ones and leave the small ones whole.  If serving as an appetizer, leave them all whole. In a small bowl, whisk three tablespoons of olive oil, the vinegar, honey, rosemary, thyme and pepper and set aside.  In a large skillet (so that the mushrooms don't touch and have lots of room to caramelize), heat two tablespoons of the olive oil over medium high heat until it shimmers.  Add the mushrooms, toss a few times and then let them brown--about 3-5 minutes.  Stir when they start to give up their juices, then add another tablespoon of olive oil, the garlic, and sprinkle the salt all over.  Stir well, turning down the heat if needed so that the garlic doesn't burn. When the garlic becomes fragrant (a minute or so), add the balsamic/honey mixture and bring it to a boil, stirring constantly.  Cook until the balsamic/honey mixture reduces at least by half (or more) into a nice, tasty glaze.  Check seasonings. If you like things spicy, you could a pinch or so some ground hot red pepper now.  Sprinkle a little rosemary and thyme on top to serve.  Serve hot or at room temperature.  Serves two as a side dish, perhaps four as an appetizer, or one hungry diner for a meal on her own.


Friday, September 14, 2012

Roasted Beets with Honey & Lemon

I'm a confirmed beet lover and could eat them at every meal.  I know, though, that beets are not America's favorite veggie. An Eating Well blog includes them among the top five "most hated vegetables" in the U.S.   (What's America's most favorite vegetable?  Apparently, according to a report in Bloomburg News, it's potatoes!) 

Roasting beets is one way to persuade a confirmed beet hater to give them another try. Roasting caramelizes the sugars in the beets and makes very sweet yet they still retain their savory earthiness. I'm not promising that the beet haters in your life will convert after you serve these--but I am suggesting it's a worth a try!

Roasted Beets with Honey & Lemon
Preheat oven to 400 degrees.

Figure on about 1 large, 2 medium or 3 small beets per person.  I usually roast extra since the oven's on and I'm happy to eat roasted beets throughout the week.  It's best if you roast similarly-sized beets in the same pan (that is, not mixing large and small beets together).  Truth be told, though, I usually throw 'em all in together when I'm short on time.

Wash the beets well and cut off their tops, leaving about 1 inch of the stalks. (This ensures the beets won't bleed too much during roasting.)  Select a roasting or baking dish that is large enough to hold all of your beets in one layer. Line it with a piece of aluminum foil that is large enough to cover the bottom of the pan AND fold over to fully envelop the beets.  Drizzle about 1-2 tablespoons of olive oil on the foil.  Place the beets in the pan, tossing them in the oil and drizzling more oil on them to be sure every beet is covered with olive oil.  Sprinkle kosher salt on the beets--at least a pinch for each beet.  Fold the foil over the beets, being sure to securely crimp the edges together to keep the heat inside.  The beets will roast and steam in this packet.  Place in the pre-heated oven for at least 40 and up to 60 or 65 minutes (depending on how big your beets are).  Remove from the oven and let them sit on the counter until cool enough to handle--about 20 minutes.  This extra time will enable them to cook a bit longer, too.

Remove the beets from their foil packet and slip off their skins.  Cut them into 1/2-inch pieces and place in a bowl.  I had about 2 cups of beets when all was said and done.  Drizzle 2-3 tablespoons of fresh lemon juice (go ahead and used bottled if that's what you have) and 2 to 3 tablespoons honey over the beets, tossing to mix thoroughly.  Taste and add salt and pepper as needed.  You can serve them as is at room temperature, or cover and refrigerate them to serve cold later.  You can also add some fresh lemon zest to zing up the lemon flavor a bit and/or some chopped parsley to add color.  If so, add the parsley just before serving.

Sunday, September 11, 2011

Honey-as-Seasoning for Fall Harvest Bounty!

Back-to-school means were slacking on our blog posts, folks.  My apologies to those who have a hankering for honey recipes and need more ideas!

In these two recipes, the honey acts almost like a seasoning, rather than a main ingredient.

Peaches, Figs, Maytag Blue Cheese & Honey
Our dear friends, Jeff and Laurie, made time in the midst of canning tomatoes to feed me dinner last week. They asked me to bring a seasonal fruit side dish or dessert, and this is what I made.  I would work as a nice "first course," side dish, or--as we used it--dessert. It received rave reviews from Jeff, Laurie and bonus guests, Beth and Steve, who stopped by on their way home from a trip to Chicago.

Two, large-ish fresh peaches, peeled. (McConnell's Farm peaches are amazing!)
Four fresh figs, washed
4 oz Maytag blue cheese, crumbled
1/4 cup almonds, toasted and chopped
2-4 tablespoons summer honey
Just before serving, slice the peaches into 1/2 inch wedges and place in a bowl.  Cut off the stem of the figs, and quarter or "sixth," and add to bowl, and gently toss.  Crumble blue cheese over the fruit.  Add almonds and drizzle honey over top.  Gently toss and serve.  Serves 5-6 (but you might want to add another peach if you're serving six).

Baked Tomato & Cheddar Cheese Pasta
Jeff and Laurie roast their tomatoes before canning them, and gave me the idea for this casserole.  I'll confess that it doesn't look very pretty--it's definitely for a week-night family meal.  Yet it has a pleasing, comfort-food flavor and is a great use of end-of-the-season plum tomatoes.
6-8 medium fresh plum tomatoes, peeled and diced (you could use a 14-oz can of whole tomatoes)
1/2 cup diced sweet onion (like Vidalia)
4 oz sharp yellow cheddar cheese, diced in 1/2 inch dice
2 oz sharp yellow cheddar cheese, grated
1/2 pound dry pasta  (I used medium shells, you could use any smaller size cut pasta)
2 tablespoons summer honey
2 tablespoons fresh thyme, chopped (you could substitute fresh oregano or basil)
salt and pepper to taste
Preheat oven to 350 degrees.  Lightly oil a casserole or 8x8 square baking pan.  Boil pasta in salted water for about 4 or 5 minutes less than the package directs.  The pasta should be pliable, but not quite al dente, so it will soak up the tomato juices.  Place the tomatoes, onions, diced cheese & pasta in casserole and toss to combine.  Stir in honey, thyme, salt & pepper. Taste and add more seasoning if needed.  Sprinkle grated cheese on top and bake for about 30 minutes. The cheese should be thoroughly melted in to the dish and it should be bubbling. Let sit for 10 minutes so that the pasta absorbs the cheesy-tomato-y juices.  Serves 4.